Monday, February 10, 2014

Valentine Monster Hugs, LOVE 'Em! and a Shout Out to Stampin' Up's Angie Juda

Hi Everyone,
Wow, look at me posting on a Monday.  I had such a great crafty weekend with team Nonna & Rory that I could not wait to get home from work today to post some pictures.  Not only was I working on my Valentine's for the work peeps I also helped Rory with her Valentine's for school.  I had showed Rory Stampin' Up Monster Hugs and she thought they were so cute that she wanted to make them.  After ordering them they arrived in no time at all and were even cuter in real life than in the picture.  Now for many reasons our public school system likes a healthier style snack in lieu of chocolate or something sweet.  They even send a list home.  Most people step outside of the list but, hey who am I to break rules at my age!  We like to use pretzels for valentines.  So we came up with an awesome way to use our Monster Hugs with a box of pretzel sticks. We had a lot to make and Rory was off on an over-night so I thought it would be best to prep all the parts for her so that she could focus on assembly when she got home on Sunday.  It worked out perfect.  Here is a picture of the kit re-make I set up for Rory:
 What I added to the SU kit was a 2 inch by 9 inch strip of crumb cake cardstock that I hand stamped tone on tone with crumb cake ink.  I cut the arrows with my KnK Zing out of Midnight Muse cardstock for the boys and Calypso Coral for the girls.  I used CAP2 to make and print the tags. I also used CAP2 to print the paper for the belly bands and small hearts for the hands.  The belly bands are 3/4 " wide by 6 1/5 inches long.
So when Rory got home we set out to complete all of her Valentine's for school as I have a super busy work week this week and I was thinking if we did not get them done it might be a problem.  Here are some pictures of Rory along the way and our completed Valentine's. Rory did an awesome job!


And the final crafty good haul:
I have to tell you that this project is a favorite of mine.  I am a huge Stampin 'Up fan and even with my little bump up this kit was cost effective and made for a wonderful experience to share with my Granddaughter.  My demonstrator is Angie Kennedy Juda and her blog link is here:
http://www.mychicnscratch.com/
She always has a fresh idea and something fun going on.  Please visit her if you are thinking of purchasing any Stampin' Up product.  I have never met her but have been a fan for years and purchase all my SU through her.  She is AWESOME!!! So SHOUT OUT to Angie, I just can't thank you enough for all your fantastic ideas! We should get together someday so I can teach you to love that Silhouette cutter you have!!
Have a great week Everyone and a Happy, Happy Valentine's Day,
Lysa

Saturday, February 1, 2014

Itty Bitty Valentine Bread Tag Box

Hi Everyone,
Oh my, I am still obsessed with the bread tag shape.  I just had to make one more little treat box for Valentine's Day 2014.  I think I will make these for my February Board meeting.  They will hold two Dove hearts just perfectly.  Here is a picture of the file:
For those of you who like a pdf file you can download it from this link here:
http://www.mediafire.com/view/x0xec1lcc2u7ccs/Itty%20Bitty%20Bread%20Tag%20Box%202014.pdf

and for all the MTC peeps, use this link for the file (I also posted it on the forum)
http://www.mediafire.com/download/7iu0uqqyt2qgghn/Itty%20Bitty%20Bread%20Tag%20Box%202014.mtc


I hope you like this little cutie, I even made a double sided version and will try to post the file at some point.  I made the heart paper in CA2 using Stampin Up digis. I even created the box in CA2. (It really has become my go to software) I used MTC and my ZING to cut the box.
Wishing you all a happy, crafty weekend.  And if you are watching the Superbowl tomorrow I hope your favorite team wins. Thanks for stopping by,
Lysa

Saturday, January 25, 2014

Snow Day Fun

Hi Everyone,
Thanks to Mother Nature we had a snow day this week.  What a fun day Rory and I had crafting some goodies for Valentine's Day.  Now I usually don't put out a lot of decorations for Valentine's or St. Pat's as we do up Halloween and Christmas so big in this house.  I am always looking for a bit of a break before Easter.  Rory has been asking to make a banner, and I thought this was a great opportunity to make one. Mostly because I was thinking if I said no, Rory might suggest we bundle up and go outside to build a snowman.  Not that I have anything against snowmen but it was about 7 degrees outside!  I decided that the banner would be all Rory's ideas.  I let her pick all the paper and shapes.  She even picked the words and did all the assemble too.  Banners are so quick and easy with a digital cutter. We used my ZING and MTC to cut all the pieces.  Rory used the Xyron for all the adhesive.  She loves the Xyron!  Here is a picture of Rory hard at work:

 Here is a picture of the banner once it was completed:
What a great job Rory did.  I keep saying "Rory, your banner is awesome"! and she keeps correcting me saying "OUR banner is awesome"  We had so much fun and just wanted to keep going so we made a few extra paper hearts for the metal Hallmark tree. Here is a picture of that:
I love when Rory comes to play in my craftroom.  I really can see it is just more than quality time with each other.  She is really learning things.  As we were making the banner we discussed color and used math skills for measuring.  We used computer software to created the digital file.  Rory did all the assembly and took time to center the layers.  I let Rory have complete control decorating the mantle so we talked about a center focal point and height balance.  We made that huge red bow out of paper twist (an old time favorite of mine) so she got to untwist the skinny paper rope into wide ribbon and use my old wood bow maker to tie the loops into a bow.  We even took leftover red candy canes and melted them into hearts (235 degree oven for 5 minutes, on parchment paper).  The living room looks very festive and we both agreed it was a job well done.  I hear more snow is on the way next week so maybe, just maybe we will be able to spend more time together getting our CRAFT ON!
Thanks for visiting and have a crafty weekend,
Lysa

Tuesday, January 21, 2014

Valentine's Day Bread Tag Box

Hi Everyone,
I am so happy to be back posting and I have a cute little box to share for this Valentine's Day.  I went back and forth with what kind of candy to use.  I almost feel weird using nuggets instead of hearts, but at work chocolate hearts are already all over the place.  So in my attempt to be different I went the route of my favorite Hershey Nugget!  I need to make so many of these and I started out with a 4 piece box.  Once I did the math on the price I reduced it to a 2 piece box.  Not that I am a cheapo, but I will most likely be making about 40 of these and to me a 2 piece box just seemed to be a bit more romantic.  So with that said here is a picture of the file:
Here is another picture of the favors:

Such a cutie! I bet a couple of bite size kit kats or some kisses would be perfect in there as well.   I designed this file in CAP2 and did all my cutting with my ZING using MTC.  I just love using CAP2 to design. It really is an amazing and broad software.  Remember there is a free download available at the daisytrail website if you want to check it out.
Here is a link to the PDF file on mediafire:
http://www.mediafire.com/view/koeui6s80hzgq8e/Breadtag%20Valentine%20Nugget%20Holder%20with%20Notes.pdf

For my MTC friends the file is here:
http://www.mediafire.com/download/1q9y46w92wxx9aw/Breadtag%20Valentine%20Nugget%20Holder%202014.mtc

I hope you all like this little Nugget holder and leave me a comment if you do.  I hope to get back to posting on a more frequent basis but as you all know life has a way of changing our plans.
Thanks for visiting
Lysa

Saturday, December 21, 2013

Ahhh, The Warm Glow Of Christmas!

Hi Everyone,
Yet another addiction of mine is flameless candles.  It's true I have them in every room in the house. I buy CandleImpressions brand and they all have timers so by the time I arrive home from work the whole house is glowing. I also buy them for Christmas hostess gifts each year. I buy them from QVC and when the candles are shipped they arrive in cardboard shipping boxes so I always try to re-package them in a pretty way.  This year I bought sets of 5 little white glittered trees. They are pricey but I really like giving them so I make sure that I budget for them in my holiday expenses. Here is a picture I grabbed from the QVC website of the little candles:
They are so sweet and they have a lot of glitter on them.  During the day when they are not glowing they just look pretty sitting on the table.  I wanted to break up the sets so that I would be able to make a number of gifts out of the 3 sets that I bought.  Some peeps are getting 1,  some 2, and some are getting 3 of the little trees. When they first arrived I wasn't sure how to package them but I did remember that I had bought some nice boxes from Stampin' Up that had a clear plastic sliding sleeve top.  I think they designed this box to hold cookies.  Here is a picture from the SU website of the boxes:
I loved the box but of course the candles were to tall to fit.  Not a problem as with a bit of a crafty good remake I was able to use the box.  Here are some pictures of how they came out:


So here is what I did, I cut the box down to just under 2 inches with a decorative edge so it would be below the widest part of the tree, I made a belly band with the same edge using some K&Co. paper that I had in my stash. I cut one side of the plastic sleeve cover off so that it fits to the inside of the box and rests just on the top of the tree. All the parts are inked up with SU crumb cake ink. The tag was made in CA2 and punched with the SU bracket label punch.  I used my SnC to make the shadow shape for the punch.  I get my raffia ribbon at Joann's.  I just love craft and hunter green as Christmas color combos.  I think they all look so pretty sitting on the table waiting for me to grab one when I need a little gift to bring to someone. Now I have to get the favors for the work peeps done and I am running out of time!!  Enjoy this last weekend before Christmas and I hope you all are done with the shopping and enjoying the fun side of the season. Thanks for visiting,
Lysa

Saturday, December 14, 2013

Reindeer Food 2013

Hi Everyone,
Christmas is starting to come together here in our house.  I was able to get to some gift buying and that always helps to get my spirit flowing. Every year I make a check list of the things I need and want to do during the weeks between Thanksgiving and Christmas.  It's funny how I put the word "annual" in front of so many of the things.  Like "annual" Target run, "annual" mall trip, "annual" Joann's run, etc. but my most favorite on the list is "annual" Reindeer food!  Every year Rory and I make reindeer food.  It is our tradition.  This years batch came out great and I will say Rory now has more creative control than ever.  I really think this is a craft she will bring to her own family years from now.  We have a great time each year planning the project.  We have a special tin where we keep our supplies that we use.  I just love it.  Here are our pictures of this years batch:
  I have so much going on in the craftspace that we needed to use the ironing board as an extra table top.  Rory used the Xyron to make stickers for the tag.  I call my Xyron vintage because I think I have had it for more than 10 years. It never lets me down.
Rory is getting better at the layout and by next year maybe the rows will be closer together for less waste.
She did an awesome job attaching the graphic to the tag shapes.  She is getting a better hand for centering things.  Practice does make perfect just like our Mom's told us!
Mixing up the ingredients is the most fun of all.  I think its the colors of the sugar that makes us smile.
 Once the containers are filled it is back up to the craftspace for a belly band and tag attachment.  I added the belly band and Rory tied the tags on.  The backside of the tag has the standard Reindeer Food poem.  Notice our ingredient list on the bottom.  Our Reindeer food contains no GLITTER and is non toxic.  Every year I beg people not to use glitter in their food.  No animal, person or the environment likes glitter in Reindeer food!!!
 And there they are happily on our reindeer by the front door just waiting for friends to take one as they leave after a play date.  I love when I hear Rory say to someone as they are leaving "Oh, I made some reindeer food, Please take one"  Don't they look great?!
Today is "annual" card day so I am off to get the Christmas cards done and out in the mail for Monday.  Thanks for visiting and wishing you all a crafty good weekend,
Lysa

Monday, December 9, 2013

Here I Am!

Hi Everyone,
Well I guess we can say I will never be a professional blogger.  I am pretty sure the professionals can't let weeks pass between posts. It really is a good thing that I never tried to be a pro and have kept this little corner of cyberspace as more of my crafty diary than anything else.  I have been so busy with life that I just haven't had a moment to post.  I guess that too is a good thing.  The holiday season is running in full force and I am ... well let's just say dancing as fast as I can (and between you and me, that is never a pretty sight!). I actually have been enjoying the holidays with a lot of family and fun so I feel blessed and very lucky that the only thing I have to complain about is the time slipping through my fingers.  I wanted to check in and show you the Hanukkah gift card holders that I had made.  As always my pictures fail to show how nice they came out.  I have been using the Stampin' Up pattern for the file folder card that is all over the internet.  I just love it.  This weekend I want to shrink it down and get a Ghirardelli chocolate into it.  I just love it.  I use my envelope punch board just as they did to make it.  I have the original We R Memory Keepers board (they make it for SU).  Here are my pics:

I love how they came out!  I have a Christmas version too! I had great fun using CraftArtist2 to make the printed template and digi stamp on the file card.  I used my Brother ScanNCut to fussy cut the Star of David digi stamp.  That cutter has some drawbacks and some awesome goodness as well.  I hope to check in again before Christmas to show off my favors that I am making for the girls at work. Thanks for visiting, I am off to work on Christmas cards.  Wishing you all happy days as we move closer to Christmas.
Lysa
OMG! the reindeer food! add that to the list!!

Monday, November 11, 2013

I (heart) SU Festive Flurry!

Hi Everyone,
I am racing to get a blog post up before I have to return to work after the 3 day weekend.  Thing around here are good. Halloween is up in the attic and Christmas buckets are everywhere all over the house.  I haven't opened them yet but they are at hand and ready to go.  I am in love with the SU Festive Flurry stamp set and knew the minute I saw it that I wanted to use it for a few things this holiday season.  I had known for sure that I want to use it for gift wrap and for a paper ornament.  But, then I decided to use it for the Board's Holiday Dinner invites that I make each year.  Here is how they came out:

 I just love them. I used my CA2 to weld the snowflake outline to a rectangle and cut it with my SnC.  I used the new online converter that was released this past Friday. I made the four layer snowflake with the purchase .svg file from SU and printed them through CA2. I used the the SnC in direct cut mode to cut them out and glued just the upper part of the snowflake to the base so that it would act as the closure for the card.  I made the text insert in CA2 as well.  Everything is dusted with Ranger Perfect Pearls and they look awesome. I hope I get a moment during this week to try to layer this stamp set to a paper ornament. I know I want to use it for gift tags too.  So pretty and the svg download from SU worked out great for both printing and cutting.  I have such a busy week ahead I just hope I can get back into the craftroom to keep playing with this set. The Holidays are upon us people and it is "GO TIME"!! Hope everyone is getting the Holiday Craft Mojo going and I sure hope I can come up with some crafty goodness to share!  Thanks for visiting,
Lysa

Sunday, November 3, 2013

Digi Halloween - This Year & Last Year.

Hi Everyone,
Wow, Halloween is behind us and I must say we had an awesome one.  All the kids in town looked great and the day was perfect for the parade and for trick or treating.  I think the temp topped out close to 70 degrees! So today is the day to start packing up all the black and orange Halloween things and start to get the house ready for Santa's arrival.  I was able to take time to sit down and get my digi-scrap on and got Rory's yearly Halloween picture done.  Easy Peasy with CraftArtist 2! I went a bit scary this year, which is unlike me but Rory did look scary so it seemed to work. I really get a kick out of seeing last year side by side with this year.  It is fun to see how Rory has changed. CA2 made it so easy to crop Rory from pictures and place her in a different background.  Here is the picture:
ohhh, Scary! Sam did a fantastic hair and makeup job. There are 9 Rorys in the picture. Can you see them all.  My favorites are the one in the upstairs right window and on the roof. She really did look scary with all that paint on her face. So not like last year:
I really think Rory liked being something scary and I can't wait to see what she chooses next year.  I will say that since I am not a very good photographer I had a hard time with her ivory colored costume.  In the house on the black sofa the contrast popped well but out side it was difficult to capture her well. Even when I sat down to scrap I found it hard to come up with a solid background that worked.  Both picture were made in CA2 and as always I can't say enough how awesome the software is.  I always tell peeps to check out the free version at the DaisyTrail website. I am off to start the big pack up and today is the NYC marathon so in this house that means soup!!! Yup. every year the marathon kicks off soup season in this house and the first is a batch of potato cheese soup (yummy)! We all watch the marathon while I make soup.  It's just one of those silly family traditions we have been doing for years. Have a great Sunday and thanks for stopping by,
Lysa

Sunday, October 27, 2013

Scan N Cut Fun

Hi Everyone,
It's Sunday and now I am sad because my brain has turned to thoughts of Monday morning and work. Now mind you it's not that I don't like going to work it's more like since the SnC arrived in the house I have let a few things fall to the wayside.  Mostly the laundry.  So if I don't get up and away from the SnC now I won't have anything to wear to work tomorrow.  Really it is that bad.  I run home to play with the machine.  I really love it. See those cute little paper pumpkins up there.  Yup, easy peasy with the SnC.  The Brother website has a creative center. The site has nothing to do with the SnC except that it has printable paper craft patterns.  You can visit the site at this link:
http://www.brother.com/creativecenter/us/en_us/family/index.htm

I found a cute little print and cut pumkin file there and all I did was print one of the pages because I wanted to use my Stampin' Up paper. I used the scan to cut data mode on the SnC and saved the file. I sized the large at 3.5 inches high and the small at 2.5 inches high. I used 8 shapes for each pumpkin.  Scored them down the middle and glued them back to back.  I added some brown paper twist as the stem made a quick goblin and some leaves using CA2 and cut them out with the SnC.  They came together quick and easy. Now if only I could make about six more I would love to give them as little gifts to a few friends.  I hope you like them and I am thinking that this pattern will make great apples for the teacher!! Check out the site when you can as I saw a lot of really cute patterns for downloading.  And yes it is free.
Have a great Sunday, I am off to do some wash . . . or am I?
Lysa
Ok . . . So I did a few loads of laundry but I made more pumpkins too!!

Sunday, October 20, 2013

Scan N Cut - Cutting Tag Shapes

Hi Everyone,
I just love the Scan N Cut! It's like I don't want to leave the craftspace.  I am what you might call addicted! Now I don't really have a flare for teaching but I thought this post might assist someone when trying to center words or and image into a tag shape. Now we already know that the SnC does not have a negative offset at this time. Meaning, on a direct cut if you put a black line shape around your artwork you can only cut right on the line or in increments of distance away from the line.  Like you see here where I made a page of tags in CraftArtist 2 that will become Hershey Nugget holders:
When I cut them they looked great except you could see the black line, so not pretty! So what I did was print just the black shape on clear transparency film.  I use this shape all the time so for the few pennies and the bit of ink it was worth the investment for me. I then printed just the artwork on my Stampin Up cardstock.  Here is a pic of the 2:
I placed my cardstock on the mat first and then over layed the clear template paying attention to how the artwork was centered into the shape.
I taped the transparency down only at the bottom and lower side.  And then I scanned it in. I love that part!
Once the scan was done without ejecting the mat, I removed the transparency.

I then cut the tag shapes out.
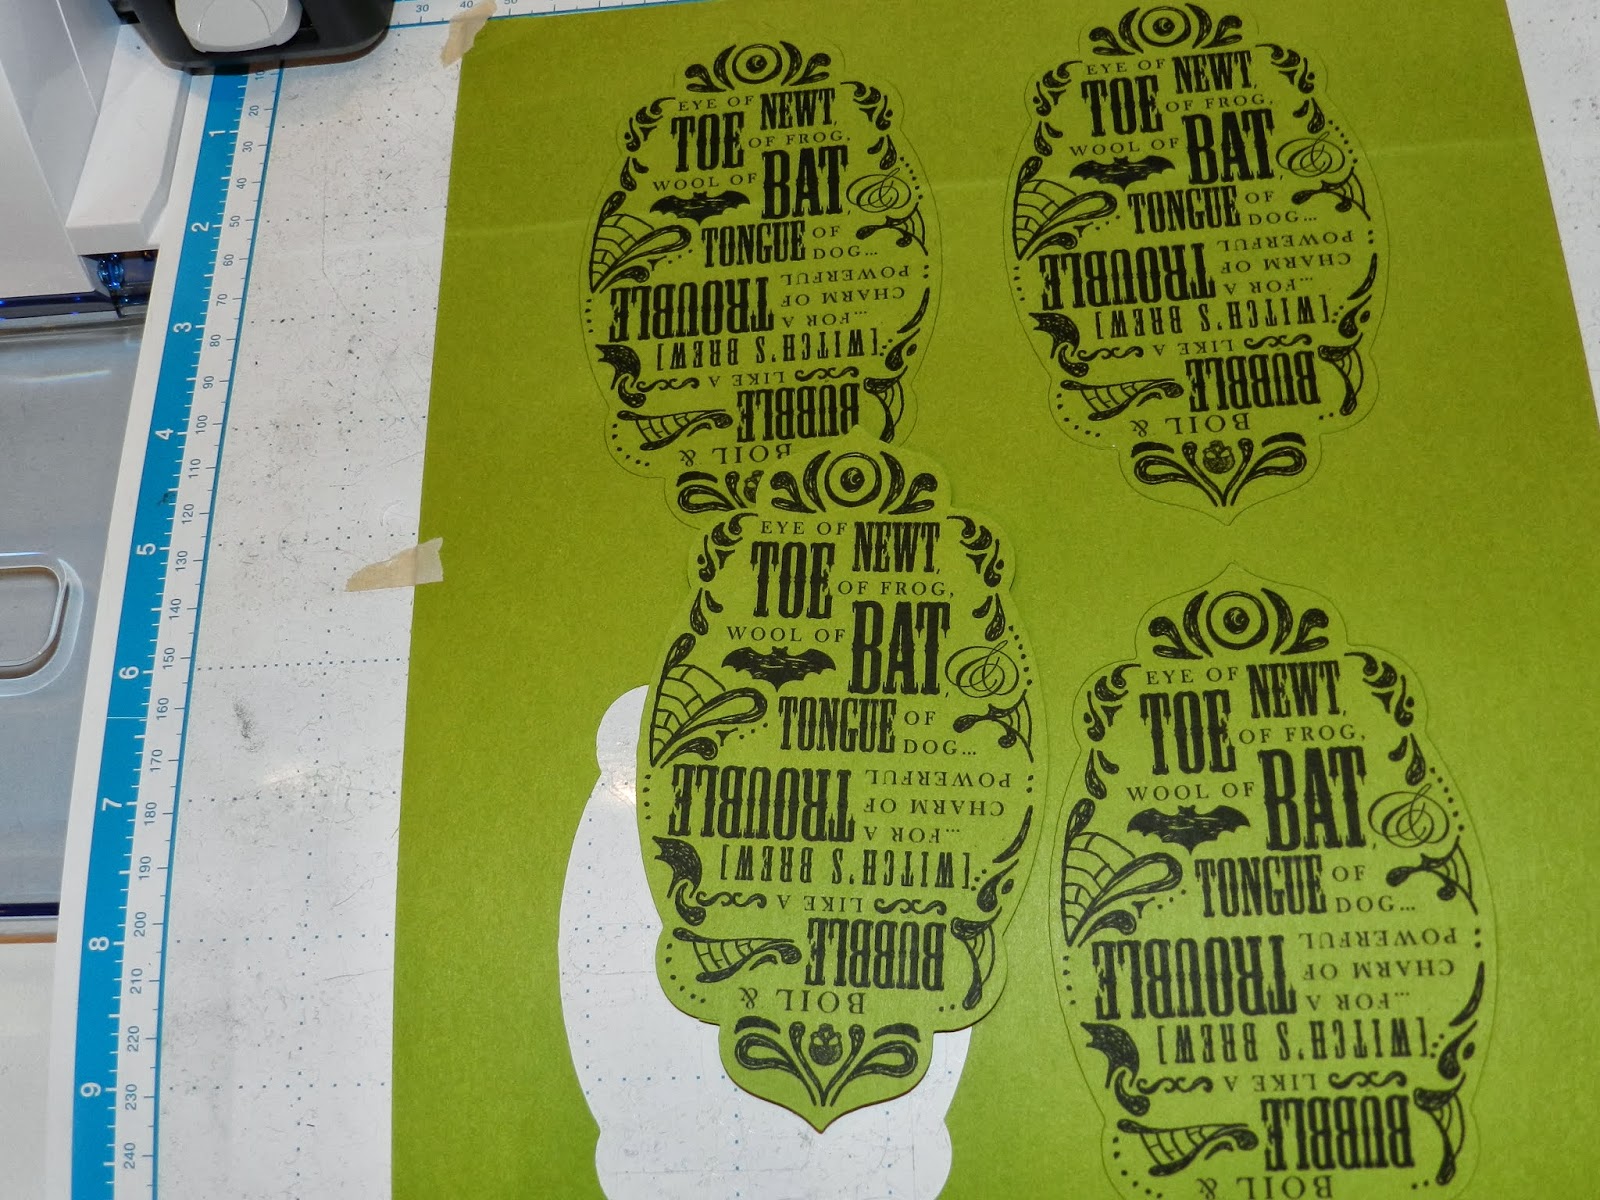
All four perfectly centered. LOVE!!! I will be making about 25 of these and this template will make for quick cutting by using direct cut mode instead of pattern cut mode.   I hope this gives you all an idea for some work arounds until Brother goes live with their designing software. As a side note if you are wondering why the bottom words are upside down it is because when the nugget holder is folded up the words on both the front and the back will be right side up. If you have any questions let me know. Thanks for visiting and have a great Sunday.  I am off to make some crafty goodness.
Lysa

Just a quick edit to show a picture of how the ScN will cut clipart from CraftArtist 2. I am adding this as I had left a post at DaisyTrail forum and I really wanted everyone to see how awesome this cutter works with CA2
clipart from the cocoa latte digikit.

Wednesday, October 16, 2013

The Scan N Cut, I Pluged It In Again!

Hi Everyone,
I just had to plug in the SnC one more time, Just to make sure I didn't miss anything.  I am just being silly at this point.  I thought I'd share the picture with you all so you could see that the computer did read the SnC. Here are my pics, boring as they are:

I tried to read any possible information off of the drive.  I thought for sure I would at least be able to view the fcm files that are on the SnC but I couldn't.  I also tried to send some cutting info to the SnC via 3 or 4 different software packs.  Of course none worked but who could blame a crafty girl for trying. I have good news in regard to the missing "Cut Up This Book" book.  My dealer called today and they got them in so I can pick it up anytime.  It really is sad that the Hubs has to drive all the way back down there.  It was almost an hour away.  For my next round of silliness I am going to try to "retro fit" a blade holder in to my SnC because I know I won't be able to find these blades locally. Well we will see how that goes.  This really is my favorite part of a new machine - the down and dirty part!  On a lighter note I found a great work around for cutting my small tag shapes.  I printed a page template of a favorite punch shape on clear transparency film and used it as an overlay.  Meaning I printed the tags artwork on good cardstock and then placed the transparency over it. 25 tags and shapes on both.  I taped them both down. I let the scanner read the black line of the transparency and removed the transparency prior to pressing the cut button.  Worked great and the artwork was nicely centered. I was amazed how well the scanner read the shiny transparency.  I hope to do this again with another shape and I will take some pictures and post them so you will better understand how I did it.  It is just so busy around here with Halloween coming up.  I have to work on Rory's costume this weekend and she has a vocal recital as well.  See you soon and thanks for visiting,
Lysa

Sunday, October 13, 2013

The Scan N Cut, Do I Love It?

Hi Everyone,
I am not one for reviews because I know from experience that what works for one rarely works for all.  I am not a professional artist but let's face it, I am pretty darn crafty.  No, really I have a whole room dedicated to the art of not just awesome crafty goodness but the art of draining the family checking account! And I practice both on a daily basis.  So here is what I can tell you.  I do love the Brother SnC. Yes I do, but don't be fooled by that fact because I also love my KnK xl, my KnK ZING, my 2 Wishblades, 3 Crickets (no, I will not include the Imagine in the count 'cause that is just a door stop) So with that said you can tell I just love digital die cutters and I love all the software that goes along with them.  But in this case, at this time there is no software.  Brother has a website set up for an online editing program however it is not live yet.  The name of it will be www.scanNcutcanvas.brother.com. Here is a picture of the Scan n Cut, yes it is pretty:
I spent the extra $$ on it to get the blue.  That I will tell you was a mistake because it is my understanding that the only difference between the blue and the red were the few extras that came with the blue.  So I spent about $100.00 to get the pens, pen holder, a CD with some art (which I didn't need), an extra mat. 200  extra built in patterns, 40 extra quilt patterns and the "Cut up this book" book that was not in the box.  I don't know how I am suppose to get the book but I will call the dealer and hope to get it.  So given the choice for a do-over I would get the red.  It scans great and traces outlines pretty good too.  Here is a picture of some rubber stamp die cuts:
The picture might not be great but the SnC did a great job on the cutouts.  You can adjust the border offset from zero going up but unfortunately there is no negative offset.  Which is something I really needed. For example if I had printed a sheet of tags (let's say 25 tags) and I printed a shape around each one so that the scanner would create the line I would then want to reduce the line via a negative offset.  As it is right now I have to scan in the page of tags with no outline and drop a tag shape on each one.  Which is doable but on the tiny screen is rather tedious.  Here is a picture of a little Hershey nugget holder I made.  I saw this on Inking Idaho.  Becky Roberts blog.  Visit her for great Stampin' Up! Ideas.  Here is how my version came out:
The SnC did a great job.
So being me, I had to explore a bit. Why what's this? Look hiding under the usb port. UMMMMMM,
Why it's a computer connection! Awesome, Let's plug in and see what happens.  Yup, my VAIO read it.  Even set up the connection.  Showed up as Brother Scan N Cut in my device menu. Not that I can do anything with it yet, but it is good to know that for sure Brother is going to HOOK ME UP!!
I love the SnC and my only complaint is that I can't see the screen.  I do notice that my 10 year old grand daughter doesn't seem to be having that problem. I also know in a matter of weeks I will be complaining that I can't get blades locally.  I have a feeling I will be trying to retro fit one of my other blade holder into the SnC.  This is why I love my ZING so much.  That baby seems to hold any blade holder.  Off to play and if the family is lucky I may even do some laundry.  But really who would want to walk away from the pretty blue machine.  Enjoy your day,
Lysa

Friday, October 11, 2013

The Scan N Cut is Here!!

Hi All,
Real quick I want to post a pic of the Basic Bow file that I uploaded to the Yahoo! Scan N Cut message board. Oh I don't like Yahoo at all.  This is why I refrain from yahoo groups.  Here is the pic.  I will upload the file to media fire too.
Hope you like it and here is the link to the mediafire  file:
http://www.mediafire.com/?yvuhsj5ehbed985
Hope this gets you all started using your SnC!
Lysa


Sunday, October 6, 2013

Breast Cancer Butterfly 2013

Hi Everyone,
Wow 2 posts in one weekend! I guess I do have my craft on!  I just wanted to show you the buttons I made for Sam's office.  I think the girls will love wearing them.  Here is a picture of the buttons:

No your eyes are not playing tricks on you.  I have been having so many problems with my HP Printer.  It is the 7500a and I am ready to throw it in the garbage.  All those graphics were printed through 4 different software packages and yet the gray printed green, The color pink changed with each try. I was getting frustrated! So I gave up and pressed the buttons.  They all look good in person.  Here is the graphic as a .jpeg for anyone who may want it.

I know, I know the font is black on the buttons.  That is because I just could not get it to color pink to print on the font due to printer problems.  I had to remove the shadow too!  Let me know it you want the graphic in black writing.  I will post it for you for sure.  Have a great "rest of the weekend"
Lysa